 how-to
How to Blend Foundation Without Streaks
Table of Contents
- Why Foundation Streaks Happen in the First Place
- How to Prep Skin for Foundation: The Non-Negotiable First Step
- Choosing the Best Foundation Brush for a Streak-Free Finish
- How to Blend Foundation Without Streaks: Step-by-Step
- Common Makeup Application Mistakes That Cause Streaks
- How to Fix Streaky Foundation After It Has Dried
- Conclusion
Last updated: August 19, 2026
Why Foundation Streaks Happen in the First Place
Streaks are symptoms of upstream decisions: skin prep, formula choice, tool selection, and product load. The most common cause is applying too much product at once. Foundation dragged across dry skin in thick layers piles up in fine lines and along face edges, creating visible drag marks that blending cannot fully erase.
Temperature matters significantly. Cold foundation sits on skin rather than melding with it. The same formula that blends seamlessly on warm, prepped skin will streak on cold, unprepared skin.
Tool choice is equally critical. A brush that's too stiff, too large, or loaded incorrectly deposits product unevenly before you can work it in. Once foundation begins to set, your blending window closes.
The throughline is control: over product amount, skin condition, and the tool doing the work. Get these three things right and streaks become genuinely rare.
How to Prep Skin for Foundation: The Non-Negotiable First Step
Skin prep is where most people sabotage their own application. A flawless finish is built from the bottom up, and no brush technique compensates for a poorly prepared canvas.
Moisturiser and Primer: Getting the Base Right
Moisturiser is non-negotiable. Dry skin creates micro-texture that foundation clings to unevenly, producing patchy, streaky finishes. Apply lightweight moisturiser and allow it to absorb fully before proceeding.
Primer creates a smoother surface and extends wear. For textured skin, a filling primer applied to specific areas makes a measurable difference to blending. For oily skin, a mattifying primer controls slip that causes foundation to slide during application.
According to the British Association of Dermatologists' guidance on skincare layering, allowing each product to settle before layering the next prevents pilling and product interference.
Allow two to three minutes between moisturiser and primer, and another minute or two before foundation. Rushing this stage guarantees streaks.
Skin Texture and Why It Affects Blending
Unaddressed texture catches foundation differently, creating contrast that reads as streaking even with sound technique. Exfoliating two to three times weekly keeps surface texture consistent. On application days, a light hydrating mist over moisturised skin softens remaining roughness before primer.
For deeper texture or acne scarring, apply a smoothing primer specifically to those areas before an all-over primer, giving foundation a more even surface. The goal is reducing variation enough for even blending, not eliminating texture entirely.
Choosing the Best Foundation Brush for a Streak-Free Finish
The best foundation brush matches your formula and skin type; there is no universal answer. Most applications fall into two categories: brush or sponge, each with distinct advantages.
Flat Kabuki vs Tapered Brush: Which to Use
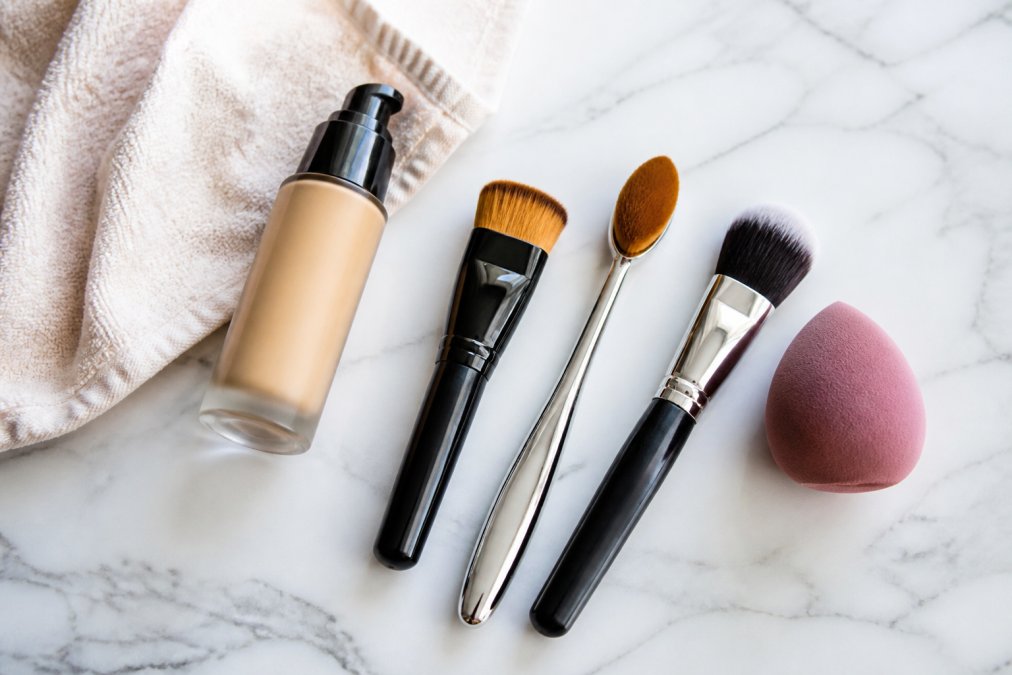
A flat kabuki brush is designed for buffing. Its densely packed, flat-topped bristles work product into skin using circular or stippling motions, building coverage without drag. It performs best with medium to full coverage liquid foundations on normal to combination skin.
A tapered or domed brush offers precision. The pointed tip works foundation into areas around the nose, inner eye corners, and hairline, places where product accumulates and streaks. Many professionals use a flat kabuki for the main face and switch to a tapered brush for detail areas.
Bristle density is key. Sparse brushes deposit product unevenly, directly causing streaks. Densely packed bristles distribute product more evenly with each pass.
When a Damp Sponge Works Better Than a Brush
A damp sponge works better for sheerer formulas, natural finishes, or when brush marks show on textured skin. The pressing motion pushes product into skin rather than dragging it across the surface, virtually eliminating streak marks.
The critical word is damp. A dry sponge absorbs product instead of depositing it, leading to patchy coverage. Wet the sponge thoroughly, then squeeze out excess until damp but not dripping.
For combination or oily skin, use a sponge to press and set foundation after brush application, removing drag marks and creating a more skin-like result.
How to Blend Foundation Without Streaks: Step-by-Step
Blending foundation without streaks requires a repeatable process controlling product quantity, application order, and blending technique. The steps below reflect professional make-up artist approaches.
Step 1: Dispense and Warm the Product
Dispense less product than you think you need. A pea-sized amount covers more surface area than expected, particularly with medium to full coverage formulas.
Warm the product before application. Dot it onto the back of your hand and work the brush or sponge through it in small circular motions. This distributes product evenly across the tool and begins thinning the formula, making it more workable.
Cold foundation applied directly from the pump is one of the fastest routes to uneven, streaky coverage.
Step 2: Apply in Sections, Not All at Once
Divide the face into sections: centre panel (nose, forehead, chin), cheeks, and perimeter. Apply foundation to one section and blend it out before moving to the next.
This prevents product from setting in one area while you work on another. Foundation that has started to dry cannot be blended without dragging, which creates streaks.
Start at the face centre and work outward. Coverage is naturally heaviest where needed most and sheers out toward edges, producing a more natural result with fewer visible edges.
Step 3: Buff in Circular Motions, Then Press to Set
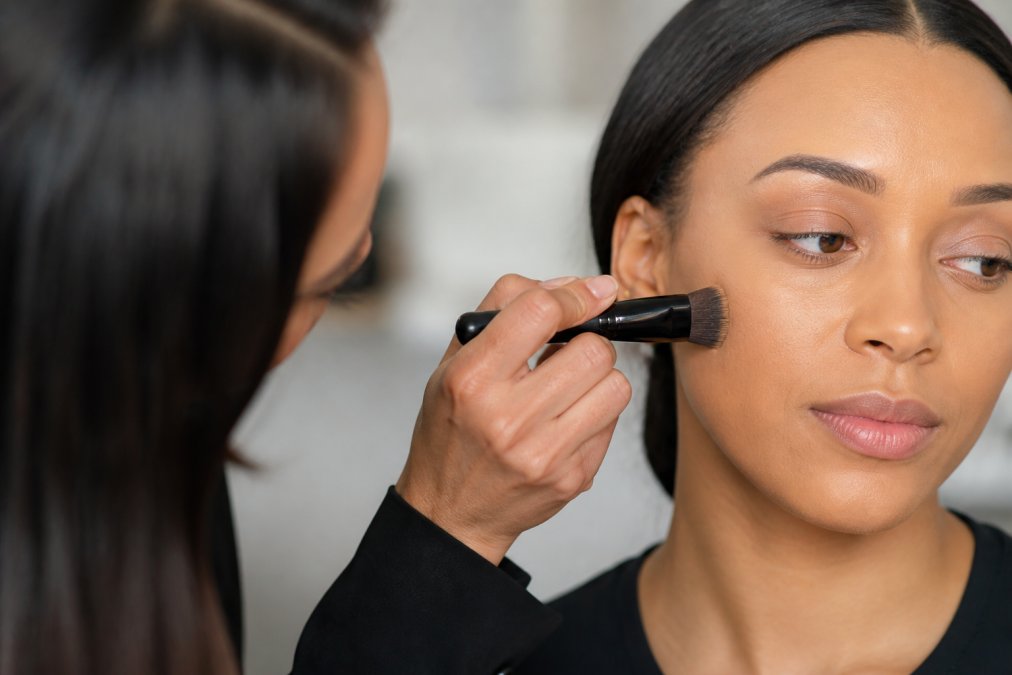
Circular buffing motions work product into skin and break up drag lines. Keep pressure light; pressing too hard moves product off skin rather than blending it in.
Once distributed evenly, switch to pressing. Use the flat of brush bristles to press and stipple rather than sweep. With a sponge, bounce it across the surface. This pressing action removes surface marks and creates a more skin-like texture.
According to guidance from the Cosmetic, Toiletry and Perfumery Association on product application techniques, pressing motions reduce surface disruption compared to wiping or dragging.
Step 4: Blend Foundation Around the Nose and Hairline
The nose and hairline are where streaks most commonly survive. Both have natural texture changes; the nose has pores and movement, and the hairline has different skin tone and texture.
Use a tapered brush or pointed sponge tip to work foundation into creases alongside the nose with small stippling motions rather than sweeping strokes. At the hairline, blend upward and outward, thinning product so there is no visible line between foundation and scalp.
A clean, dry brush pressed lightly along the hairline picks up excess product and removes the most common cause of visible foundation lines.
Common Makeup Application Mistakes That Cause Streaks
Most streaky foundation results trace back to repeatable errors. Recognising them stops you from making them.
| Mistake | Why It Causes Streaks | The Fix |
|---|---|---|
| Too much product at once | Foundation drags rather than blends | Start with half the amount you think you need |
| Skipping moisturiser | Dry skin grabs product unevenly | Always moisturise and allow to absorb fully |
| Using a dry sponge | Sponge absorbs product instead of depositing it | Wet and squeeze out sponge before use |
| Applying to cold skin | Cold formula sits on the surface | Warm product on the back of the hand first |
| Blending over set foundation | Dried product drags and streaks | Work in sections; blend before product sets |
| Neglecting the hairline and nose | Product accumulates and creates visible lines | Use a tapered brush for detail areas |
One overlooked mistake: cleaning your brush mid-application. Wiping the brush on a clean tissue between passes removes excess product that would otherwise drag back across already-blended areas.
At Girl Meets Brush, the brush range is designed with bristle density and taper specifications that address several of these issues at the tool level, giving technique a better starting point.
How to Fix Streaky Foundation After It Has Dried
Streaky foundation that has fully set is harder to fix but fixable. The approach depends on severity and how much coverage you need to preserve.
For light streaking, a damp sponge pressed (not wiped) over the affected area redistributes product without removing it. Moisture reactivates the formula slightly, allowing it to blend into surrounding areas. This works best within 30 to 40 minutes of application, before full oxidation and setting.
For more visible streaks, apply a small amount of the same foundation warmed on the back of your hand and stippled over the streaked area with a sponge. Apply in thin layers and allow each to settle before adding more.
Setting spray is useful at this stage. A light mist helps meld layers together and reduces visible texture. According to Cosmetics Europe's consumer guidance on make-up finishing products, finishing sprays bind cosmetic layers and extend wear, which is why they're standard in professional workflows.
What does not work: rubbing, wiping, or applying powder over wet streaks. Powder locks streaks in place and makes correction significantly harder without removing the entire application.
If streaking is severe and foundation has fully set, the most efficient fix is removing the product entirely with a gentle oil-based cleanser or micellar water, allowing skin to settle, and beginning application again. Starting fresh takes less time than rescuing a badly streaked base.
Prevention beats correction, and that comes back to prep, tool choice, and controlled, sectioned application technique. Well-prepped skin, the right brush for the formula, and a controlled approach make streaky foundation an exception rather than the rule.
For anyone serious about improving application technique, the Girl Meets Brush Online Make-up Academy covers foundation application, blending, and tool selection in depth with instruction from professional artists. The brushes are designed to professional specifications, making these techniques considerably easier to execute consistently.
Frequently Asked Questions
Why does my foundation look streaky after applying?
Streaks usually come down to one of three things: dry or uneven skin that hasn't been properly primed, too much product applied in one go, or a brush that isn't suited to your foundation formula. Thick or dry foundations dragged across unprepared skin will always show lines. Sorting your base with moisturiser and primer, then using light, buffing strokes with the right brush, removes the main causes of streaking before you even open the bottle.
Should I use a brush or a sponge to blend foundation without streaks?
Both work well, but they suit different formulas and finishes. A dense, flat kabuki or tapered foundation brush gives more coverage and control, making it ideal for medium-to-full coverage products. A damp sponge sheers out the formula and presses it into skin rather than dragging it, which works particularly well for lighter, skin-tint style foundations. Many professional make-up artists use a brush first to place the product, then a damp sponge to press and blend the edges for a truly seamless result.
How do I prep my skin so foundation goes on without streaks?
Start with a clean, hydrated base. Apply a moisturiser suited to your skin type and allow it to absorb for at least two minutes before adding primer. Primer fills fine lines and pores, creating a smoother surface for foundation to sit on. If your skin is dry in patches, a hydrating primer on those areas prevents the foundation from clinging and streaking. Skipping this step is one of the most common reasons foundation looks uneven, regardless of the quality of product or brush used.
Can I fix streaky foundation once it has dried?
Yes. Mist your face lightly with a setting spray or a small amount of water, then press a damp sponge gently over the streaked areas. The moisture reactivates the product slightly, allowing you to smooth and blend without adding more foundation on top. Avoid rubbing, which worsens streaks. If the foundation has fully set and the streaks are deep, a small amount of fresh foundation stippled over the area and blended outward will blend it more effectively than trying to work the dried product alone.
Streaky foundation is one of the most common frustrations in makeup application, and it almost always comes down to a fixable variable in prep, product quantity, or technique. Girl Meets Brush offers a range of professional-grade brushes designed for precision blending, the kind of tools that make streak-free application achievable whether you're working on clients or perfecting your own finish. Visit Our Shop Here to find the right brush for your formula and skin type.
This article was written using GrandRanker