 how-to
Best Brushes for Smokey Eye Look: A How-To Guide
Table of Contents
- What Makes the Right Brush for a Smokey Eye
- Top Brushes for Creating a Smokey Eye Look
- Eyeshadow Blending Techniques for a Flawless Finish
- How to Blend Eyeshadow for Beginners
- Step-by-Step: Applying a Smokey Eye with the Right Brushes
- How to Clean Makeup Brushes Properly
- Common Mistakes When Creating a Smokey Eye
- Conclusion
Last Updated: 29 August 2026
What Makes the Right Brush for a Smokey Eye
The secret to a flawless smokey eye isn't the eyeshadow itself, it's the tools you're using. A smokey eye demands precision, control, and the ability to layer colours seamlessly without harsh lines. The right brushes make the difference between a blended, professional finish and a patchy, undefined look.
When you're building a smokey eye, you're working with multiple shades, textures, and layers. Each stage requires a different brush shape, density, and hair type. A blending brush needs soft, fluffy fibres to diffuse colour without depositing too much pigment. A shader brush needs to be densely packed to grab colour and place it exactly where you want it. A crease brush needs a tapered shape that fits your eye's contour. Understanding these distinctions transforms your application.
Top Brushes for Creating a Smokey Eye Look
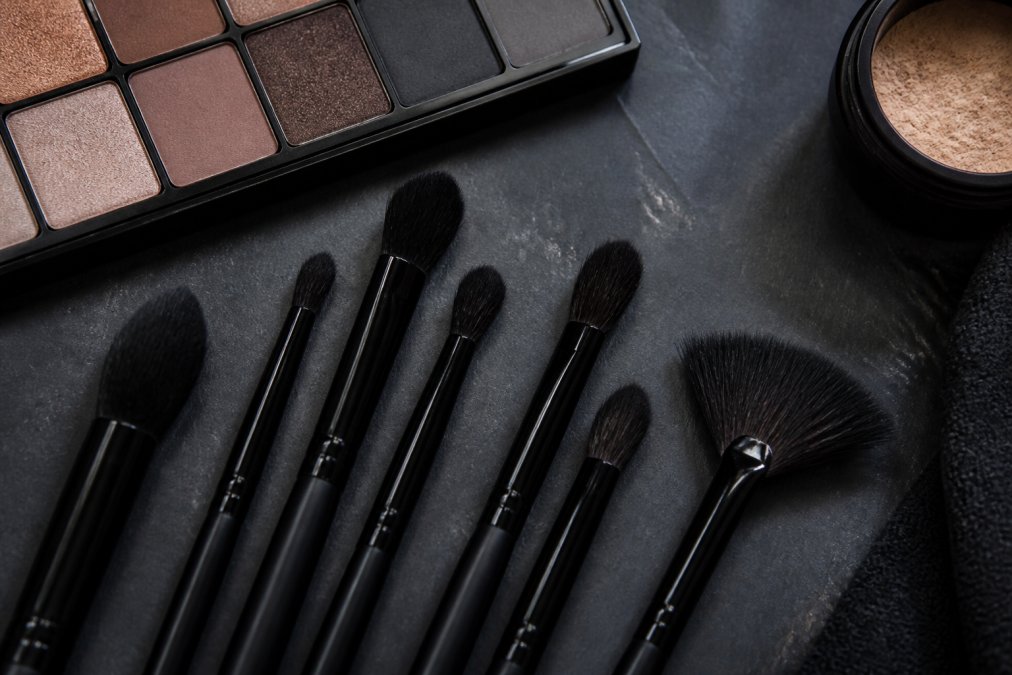
Not all eyeshadow brushes suit smokey eye work. The brushes that actually perform fall into three main categories: blending brushes, shader and crease brushes, and precision brushes for detail work.
Blending Brushes: The Foundation of Any Smokey Eye
Blending is where most smokey eyes succeed or fail. A good blending brush softens transitions between colours, eliminates harsh lines, and creates that signature diffused effect.
The MAC 217S Blending Brush is a gold standard for this work. Its densely packed synthetic fibres are luxuriously soft, and the oval shape adapts beautifully to the eyelid contour. It excels at diffusing both powder and cream eyeshadows without depositing too much pigment at once.
The Sigma Beauty E25 Blending Brush offers a firmer alternative. Its rounded head and SigmaTech fibres create seamless blending with sheer to medium coverage, ideal if you prefer more control and less feathering.
For those starting out or on a tighter budget, the Real Techniques Eye Shade + Blend Set delivers genuine value. The two-piece set includes a base shadow brush and deluxe crease brush with UltraPlush synthetic bristles that work well with both cream and powder formulas.
Beauty industry standards for synthetic versus natural bristles
Shader and Crease Brushes: Adding Dimension
Once you've got your base shade down, you need brushes that pack colour onto the lid and define the crease. These brushes are more densely packed than blending brushes, depositing more pigment with each application.
The ZOEVA 228 Crease Definer Brush is engineered for crease work. Its tapered, fluffy shape follows your eye's natural contour, and the soft synthetic fibres mimic real hair beautifully. It's excellent for contouring and blending darker shades into the crease.
The Fenty Beauty Tapered Blending Brush 210 is designed for both the contour and crease area. Its super-soft synthetic bristles create an instantly diffused finish, and the tapered shape works across different eye shapes. It's equally effective with highlighters, making it genuinely versatile.
The IT Cosmetics Heavenly Luxe No-Tug Dual Eyeshadow Brush #5 is dual-ended, with a larger end for sweeping shade across the lid and crease, and a smaller smudger end for defining the lower lash line. The ultra-plush Heavenly Luxe hairs are genuinely gentle on delicate eyelids and won't shed.
Precision Brushes for Definition
The final layer of a smokey eye often involves defining the lower lash line with a smaller, more controlled brush.
The NARS #42 Blending Eyeshadow Brush has softer, longer hairs designed for a final sweep across the eye. It diffuses high-shimmer shadows beautifully and softens harsh lines. It's better for soft blending than sharp definition, but for the final diffusing step, it's exceptional.
Girl Meets Brush brushes are engineered with precision application in mind, particularly for smokey eye work. Each brush is designed to handle both subtle and dramatic finishes, and the bristle quality ensures they won't shed or become scratchy after repeated use. The expertise of founder Lynne Mills, a celebrity make-up artist, is reflected in every design choice.
Eyeshadow Blending Techniques for a Flawless Finish
Blending is a skill that improves with practice and the right technique. Even with premium brushes, poor blending technique will show.
The windshield wiper motion is the foundation of most blending work. Load your blending brush lightly with colour, then use small, rapid back-and-forth motions along the transition area. Each pass deposits a tiny amount of colour, building gradually until the transition is seamless.
Circular motions are useful for softening harsh edges after you've applied darker shades. Use a clean blending brush and make small, gentle circles where two colours meet. This diffuses the line without removing the darker shade entirely.
Feathering extends colour slightly beyond where you want it, then blends it back down to nothing. This creates a gradient effect that looks intentional. Use a light hand and build gradually.
Buffing is the final step. Use a clean, fluffy blending brush and buff over the entire eye area with light pressure. This softens any remaining harsh lines and creates a cohesive, polished finish.
EXTERNAL_LINK: [Professional makeup artist techniques guide | beautyprofessionals.org.uk]
How to Blend Eyeshadow for Beginners
If you're new to eyeshadow application, blending can feel overwhelming. The good news is that blending follows a logical sequence.
Start with a clean, fluffy blending brush, this is non-negotiable. A brush already loaded with pigment or one that's too dense will work against you.
Apply your transition shade first. This is a neutral, matte shade slightly darker than your skin tone but much lighter than your deepest shade. Use your blending brush to apply this all over the eyelid and into the crease. This creates a foundation for blending.
Apply your mid-tone shade next, focusing on the lid and slightly into the crease. Use a shader or crease brush for this step. Don't worry about blending yet; just place the colour where you want it.
Now blend the transition between your mid-tone and transition shade. Use your blending brush with a windshield wiper motion along the edge where the two colours meet. Keep pressure light and make multiple passes.
Apply your darkest shade to the outer corner and along the crease, using a smaller, more controlled brush. This creates dimension and depth.
Blend the edges of your darkest shade using the same windshield wiper motion. The transition from dark to mid-tone is crucial for a polished look.
Finally, do a full-eye buff with a clean blending brush using light pressure and circular motions to soften everything and create a cohesive finish.
The entire process should take five to ten minutes once you've practised it a few times.
Step-by-Step: Applying a Smokey Eye with the Right Brushes
Now let's walk through a complete smokey eye application from start to finish.
Step 1: Prime Your Eyelids
Before applying any eyeshadow, prime your eyelids. An eyeshadow primer creates a smooth base that helps eyeshadow adhere longer and blend more smoothly. Apply a small amount of primer to each eyelid and blend it out with your finger or a flat shader brush. Wait thirty seconds for it to set slightly.
Priming is the step most beginners skip, yet it makes the biggest difference to how your smokey eye looks and lasts.
Step 2: Apply the Base Shade
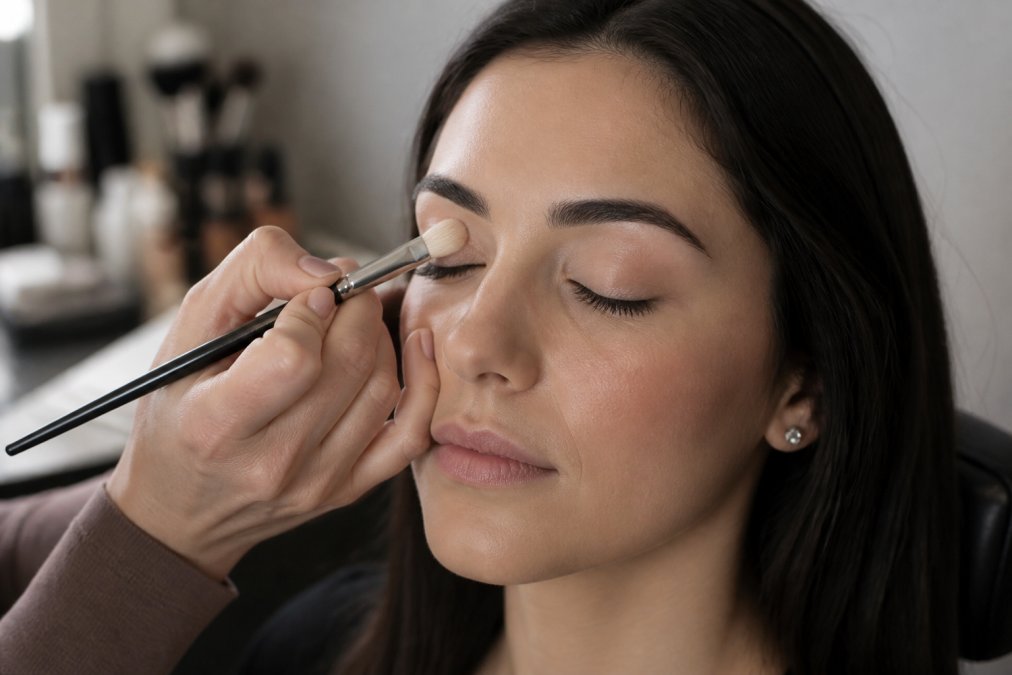
Using a flat shader brush, apply a light, neutral shade all over your eyelid. This should be close to your skin tone or just slightly darker. Use light pressure and build the colour gradually. You want full coverage without the shade being so heavy that it interferes with blending later.
Step 3: Build Depth in the Crease
Using a crease brush, apply a medium-toned shade to your crease. Focus on the area directly above your natural crease line, extending slightly into the outer corner. Use a windshield wiper motion to blend this shade into your base shade, creating a smooth transition.
Once you're happy with the crease placement, apply a deep, dark shade (usually black, charcoal, or very dark grey) to the outer corner and along the upper lash line. Use a smaller, more precise brush for this step.
Step 4: Blend Everything Together
Using a clean, fluffy blending brush, blend the transition between your crease shade and your dark shade. Use light pressure and multiple passes to soften the line so there's a smooth gradient from light to dark.
Do the same along the outer corner, blending the dark shade so it fades gradually into the lighter shades on the lid. Finally, do a full-eye buff with your blending brush using light pressure and circular motions.
Step 5: Define the Lower Lash Line
Using a small, precise brush, apply a dark shade along your lower lash line. This adds depth and definition. You can use the same dark shade you used on the upper lash line, or a slightly softer shade if you prefer a less dramatic effect.
Blend the shade slightly along the lower lash line using a clean blending brush or small smudger brush. If you want extra drama, apply a small amount of shimmer or a lighter shade to the inner corner of your eye.
How to Clean Makeup Brushes Properly
Your brushes are only as good as the care you give them. Dirty brushes harbour bacteria, apply product unevenly, and shed more frequently.
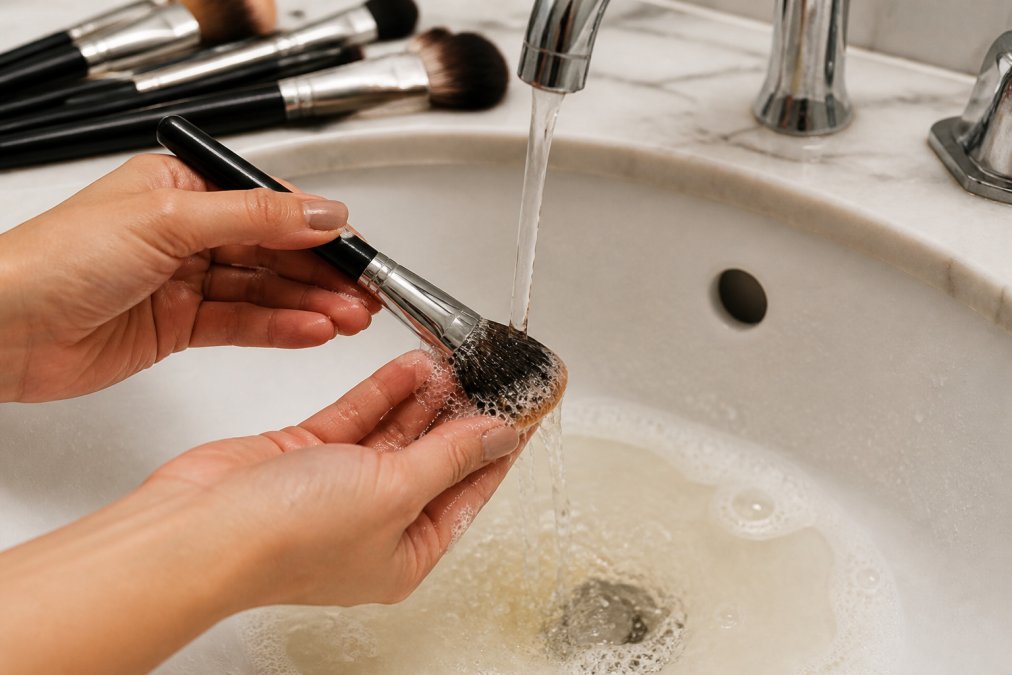
Rinse your brushes under warm running water. Hold the brush at a slight angle so water runs down the bristles, not directly into the ferrule (the metal part that holds the bristles).
Apply a small amount of brush cleanser or gentle soap to the bristles. Work the cleanser into the bristles using your fingers or a brush cleaning mat. Keep going until the water runs clear.
Rinse thoroughly under running water until no soap remains. Squeeze out excess water gently, don't wring or twist the brush, as this can damage the bristles.
Lay your brushes flat on a clean towel to dry. Never stand them upright in a cup while they're wet, as water can seep into the ferrule and cause bristles to loosen. Allow them to dry completely before using them again, this usually takes four to eight hours.
Clean your brushes at least once a week if you're using them daily. Regular cleaning prevents product build-up, which makes brushes perform poorly and shed excessively.
Common Mistakes When Creating a Smokey Eye
Even with the right brushes and solid technique, several mistakes can derail a smokey eye.
Using brushes that are too dense is one of the most common mistakes. A brush that's too densely packed deposits too much pigment at once, making it difficult to blend smoothly. Blending brushes need to be fluffy and soft.
Applying too much product is another frequent error. Eyeshadow is concentrated pigment, and a little goes a long way. Start with a light hand and build gradually.
Skipping the primer undermines everything else. Without primer, eyeshadow slips around, creases, and becomes nearly impossible to blend smoothly.
Blending in only one direction creates muddy, undefined looks. The windshield wiper motion works because it moves colour back and forth, gradually diffusing it.
Not allowing shades to set before blending is another common issue. After applying a shade, wait a few seconds for it to set slightly.
Using the same brush for multiple shades without cleaning it creates muddy colour blending. Clean your brushes between shades, or at least wipe them on a clean tissue.
Conclusion
A flawless smokey eye starts with understanding your tools. The right brushes, blending brushes for seamless transitions, shader and crease brushes for dimension, and precision brushes for definition, transform your application from frustrating to intuitive. Girl Meets Brush brushes are engineered specifically for this work, with bristle densities and shapes designed by celebrity make-up artist Lynne Mills to deliver professional results whether you're a beginner or seasoned artist. The difference between a muddy, undefined smokey eye and a polished, intentional one often comes down to having the right tool for each step and understanding how to use it. Invest in quality brushes, master the fundamental blending techniques, and you'll create smokey eyes that look intentional, professional, and genuinely beautiful.
| Brush Type | Best For | Technique |
|---|---|---|
| Blending Brush | Softening transitions and diffusing colour | Windshield wiper motion with light pressure |
| Crease Brush | Adding dimension and defining the crease | Precise placement with gentle blending |
| Shader Brush | Packing colour onto the lid | Patting or swiping motions |
| Precision Brush | Lower lash line definition | Small, controlled application |
| Buffing Brush | Final polish and cohesion | Light circular motions |
Professional makeup artist certification standards
Frequently Asked Questions
What type of brush is best for blending eyeshadow?
A fluffy, rounded blending brush with soft, densely packed fibres works best. Look for brushes with slightly tapered edges that can diffuse colour without harsh lines. Synthetic fibres often perform better than natural hair for blending powder shadows, as they hold product well and are easier to clean. The ideal blending brush should feel soft against your skin and have enough give to create seamless transitions.
Do I need a specific brush set for a smokey eye, or can I use individual brushes?
You can absolutely create a smokey eye with individual brushes, but a curated set ensures you have the right tools for each step. A good smokey eye set typically includes a blending brush, a shader brush, and a crease brush. If you're starting out, investing in a few quality individual brushes, a blending brush, a shader, and a small precision brush, will give you everything you need without the expense of a full set.
How often should I clean my makeup brushes to keep them in top condition?
Clean your brushes at least once a week if you use them daily, or every two weeks if you use them less frequently. Regular cleaning prevents product build-up, which can damage bristles and reduce application quality. Spot-clean brushes between washes by wiping them on a clean cloth. Proper maintenance extends the life of your brushes significantly and keeps them hygienic for your skin.
Can I create a smokey eye with just one brush?
Technically yes, but it's challenging. A single large blending brush can apply and blend multiple shades, though you'll have less control and precision. For a polished smokey eye, at least two brushes, one for application and one for blending, make a noticeable difference. If you're just starting out, begin with one quality blending brush and add a shader brush once you're comfortable with the technique.
This article was written using GrandRanker